
Increase Your Website Conversion With Easy Opt In Forms
What if I told you that only a few percent of your website visitors will hit that “contact” now button.
Then, what if I told you there was a way to automate the growth of your email list - for free.
No, I’m not kidding around.
Convertful is a website tool used to acquire more leads using smart behavioral-based sign up forms. The problem with most email tools are that they send the same offer to everyone. Convertful kind of knows your website visitors better than your visitors knows your visitors.
Imagine your website is a local shop for a moment. Here’s how most websites work for a first-time visitor, playing the role of a local business here:
I open the door to your shop and I’m immediately greeted by an enthusiastic employee saying “How can I help you”.
I say “No thanks”, and I continue walking into the store.
Then, a few steps later, another enthusiastic employee comes over and hands me a coupon for 10% if I give them my email address.
Again I say “No thanks” and move on.
Two steps later, a third employee walks over to me and says “Here is our store security policy about how we monitor your shopping”.
All they ask for is a simple acknowledgement that they told me they are monitoring the store for security purposes.
Now, let’s take this one step further. I’m about to leave but I see another person walking in. This person has shopped here before - but guess what - they get the same speel by those three employees.
This is basically how some websites are creating a distracting user experience - for everyone. Local business owners who want to get an edge over their competition have been lured into using these strategies and their websites have turned into some sort of a casino.
What’s the problem here? In the example of the local business, there’s two problems here:
They are giving the same offers to everyone, regardless of their shopping behavior
They are overloading the visitor with too many offers at the wrong times
How To Fix Your Website Conversion With Convertful
In this article you are going to learn how to:
Setup and install Convertful on ANY website
Create your first Email Opt-in widget
Show your opt-in widget to targeted visitors
Send your opt-in subscribers to your email service
1. Setup and install Convertful on any website
ConvertfulImage source:
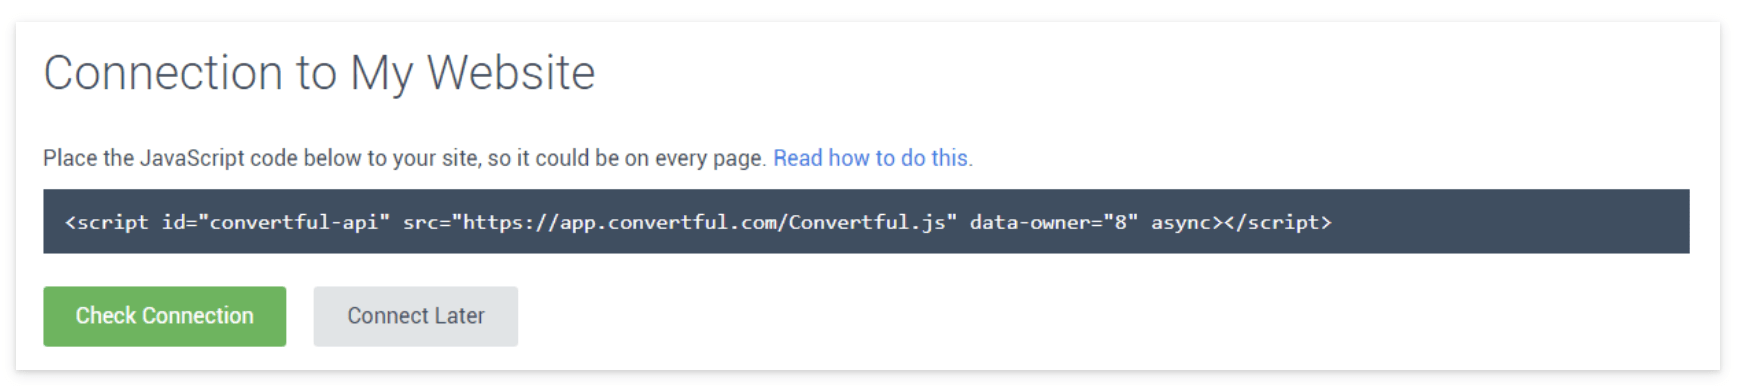
Getting Convertful on your website couldn’t be easier. Seriously.
Create your free account, enter the website address you want to place it on, and then you will get a code to place on your website. Each website will be a bit different, but you’ll want to add this to the </head> section of your website, so refer to your website’s help docs on where to place custom code.
If you’re using Wordpress, it’s even easier. After you create your free account, you just install the Wordpress plugin.
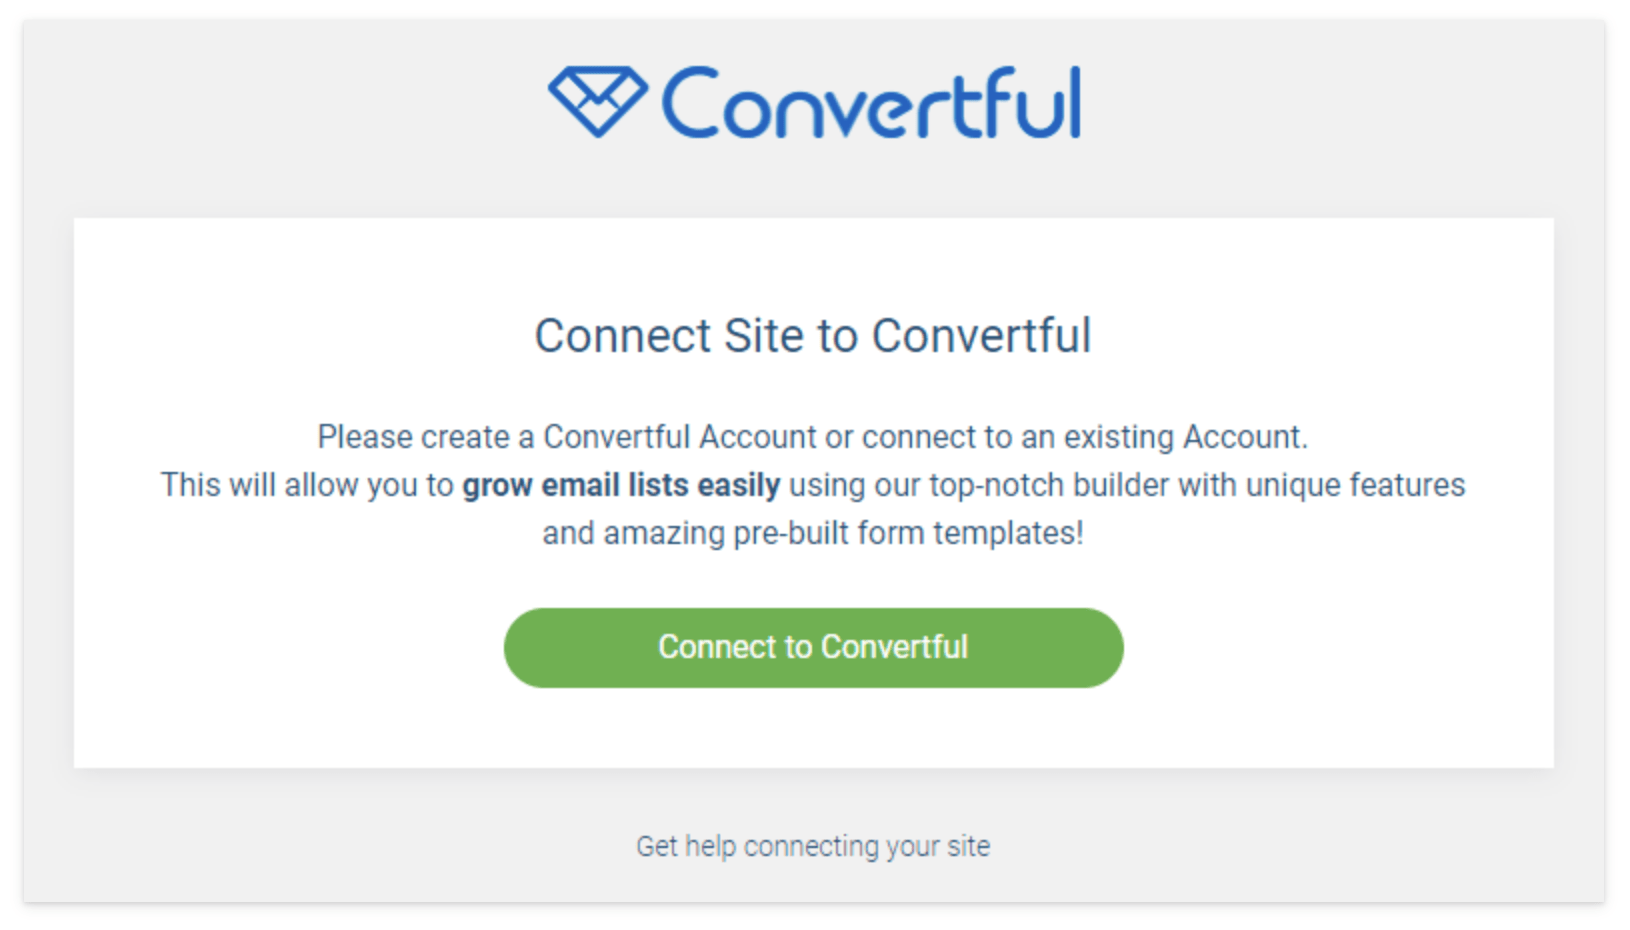
When you click the “Connect to Convertful” button it will open a window logging you into your Wordpress site for authentication.
That’s it, in both instances, you have now completed the step to installing Convertful to your website.
2. Create your first email opt-in widget
The whole point of Convertful is grow your email list. By using a combination of the right offer at the right time, you can grow a (loyal) email list, turning visitors into customers.
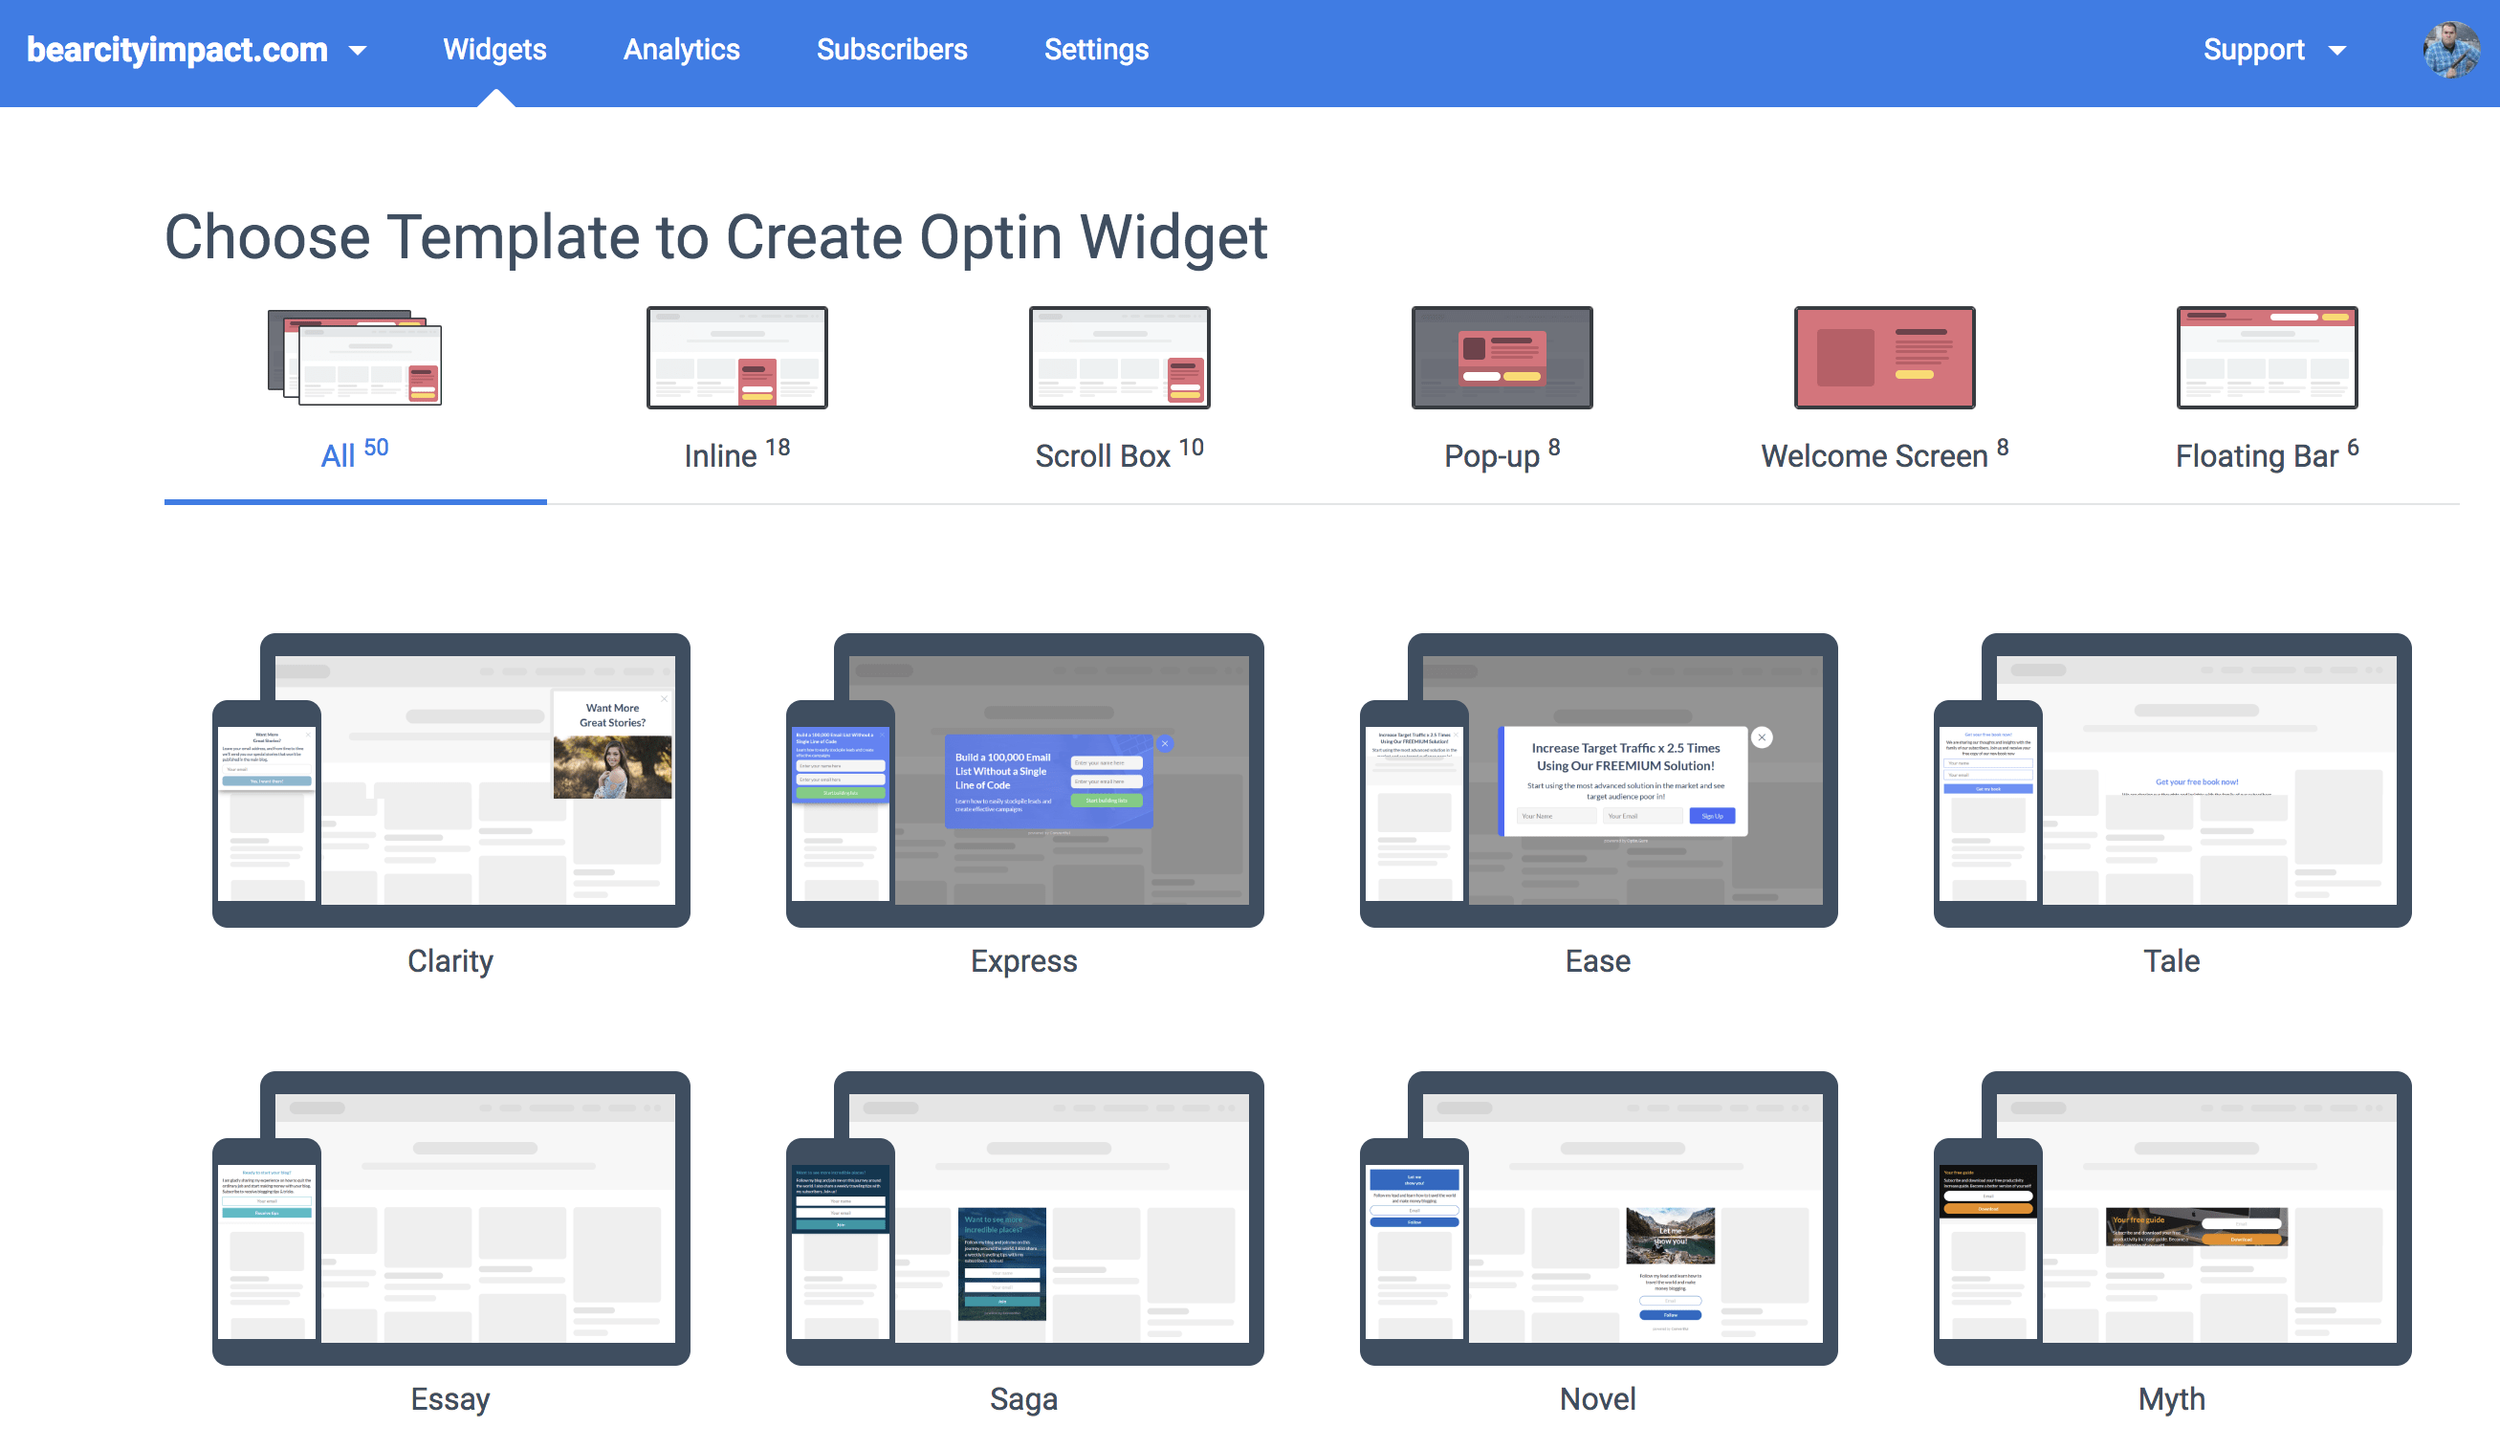
Click on WIDGETS in the blue bar at the top
Click the green button that says “Create” widget
Choose your template as shown above
Currently there are 50 different templates across 5 different opt-in styles to choose from. Each of the styles can be used for capturing email addresses, but they each have their best case use.
1. Inline Widget
This will be place in line with the rest of your content, in a static position so to speak. When using this widget, it will always show, because you are manually injecting it into your desired content area. It’s best to use this in a sidebar of your blog, or as a strip below some content.
ConvertfulImage source:

ConvertfulImage source:
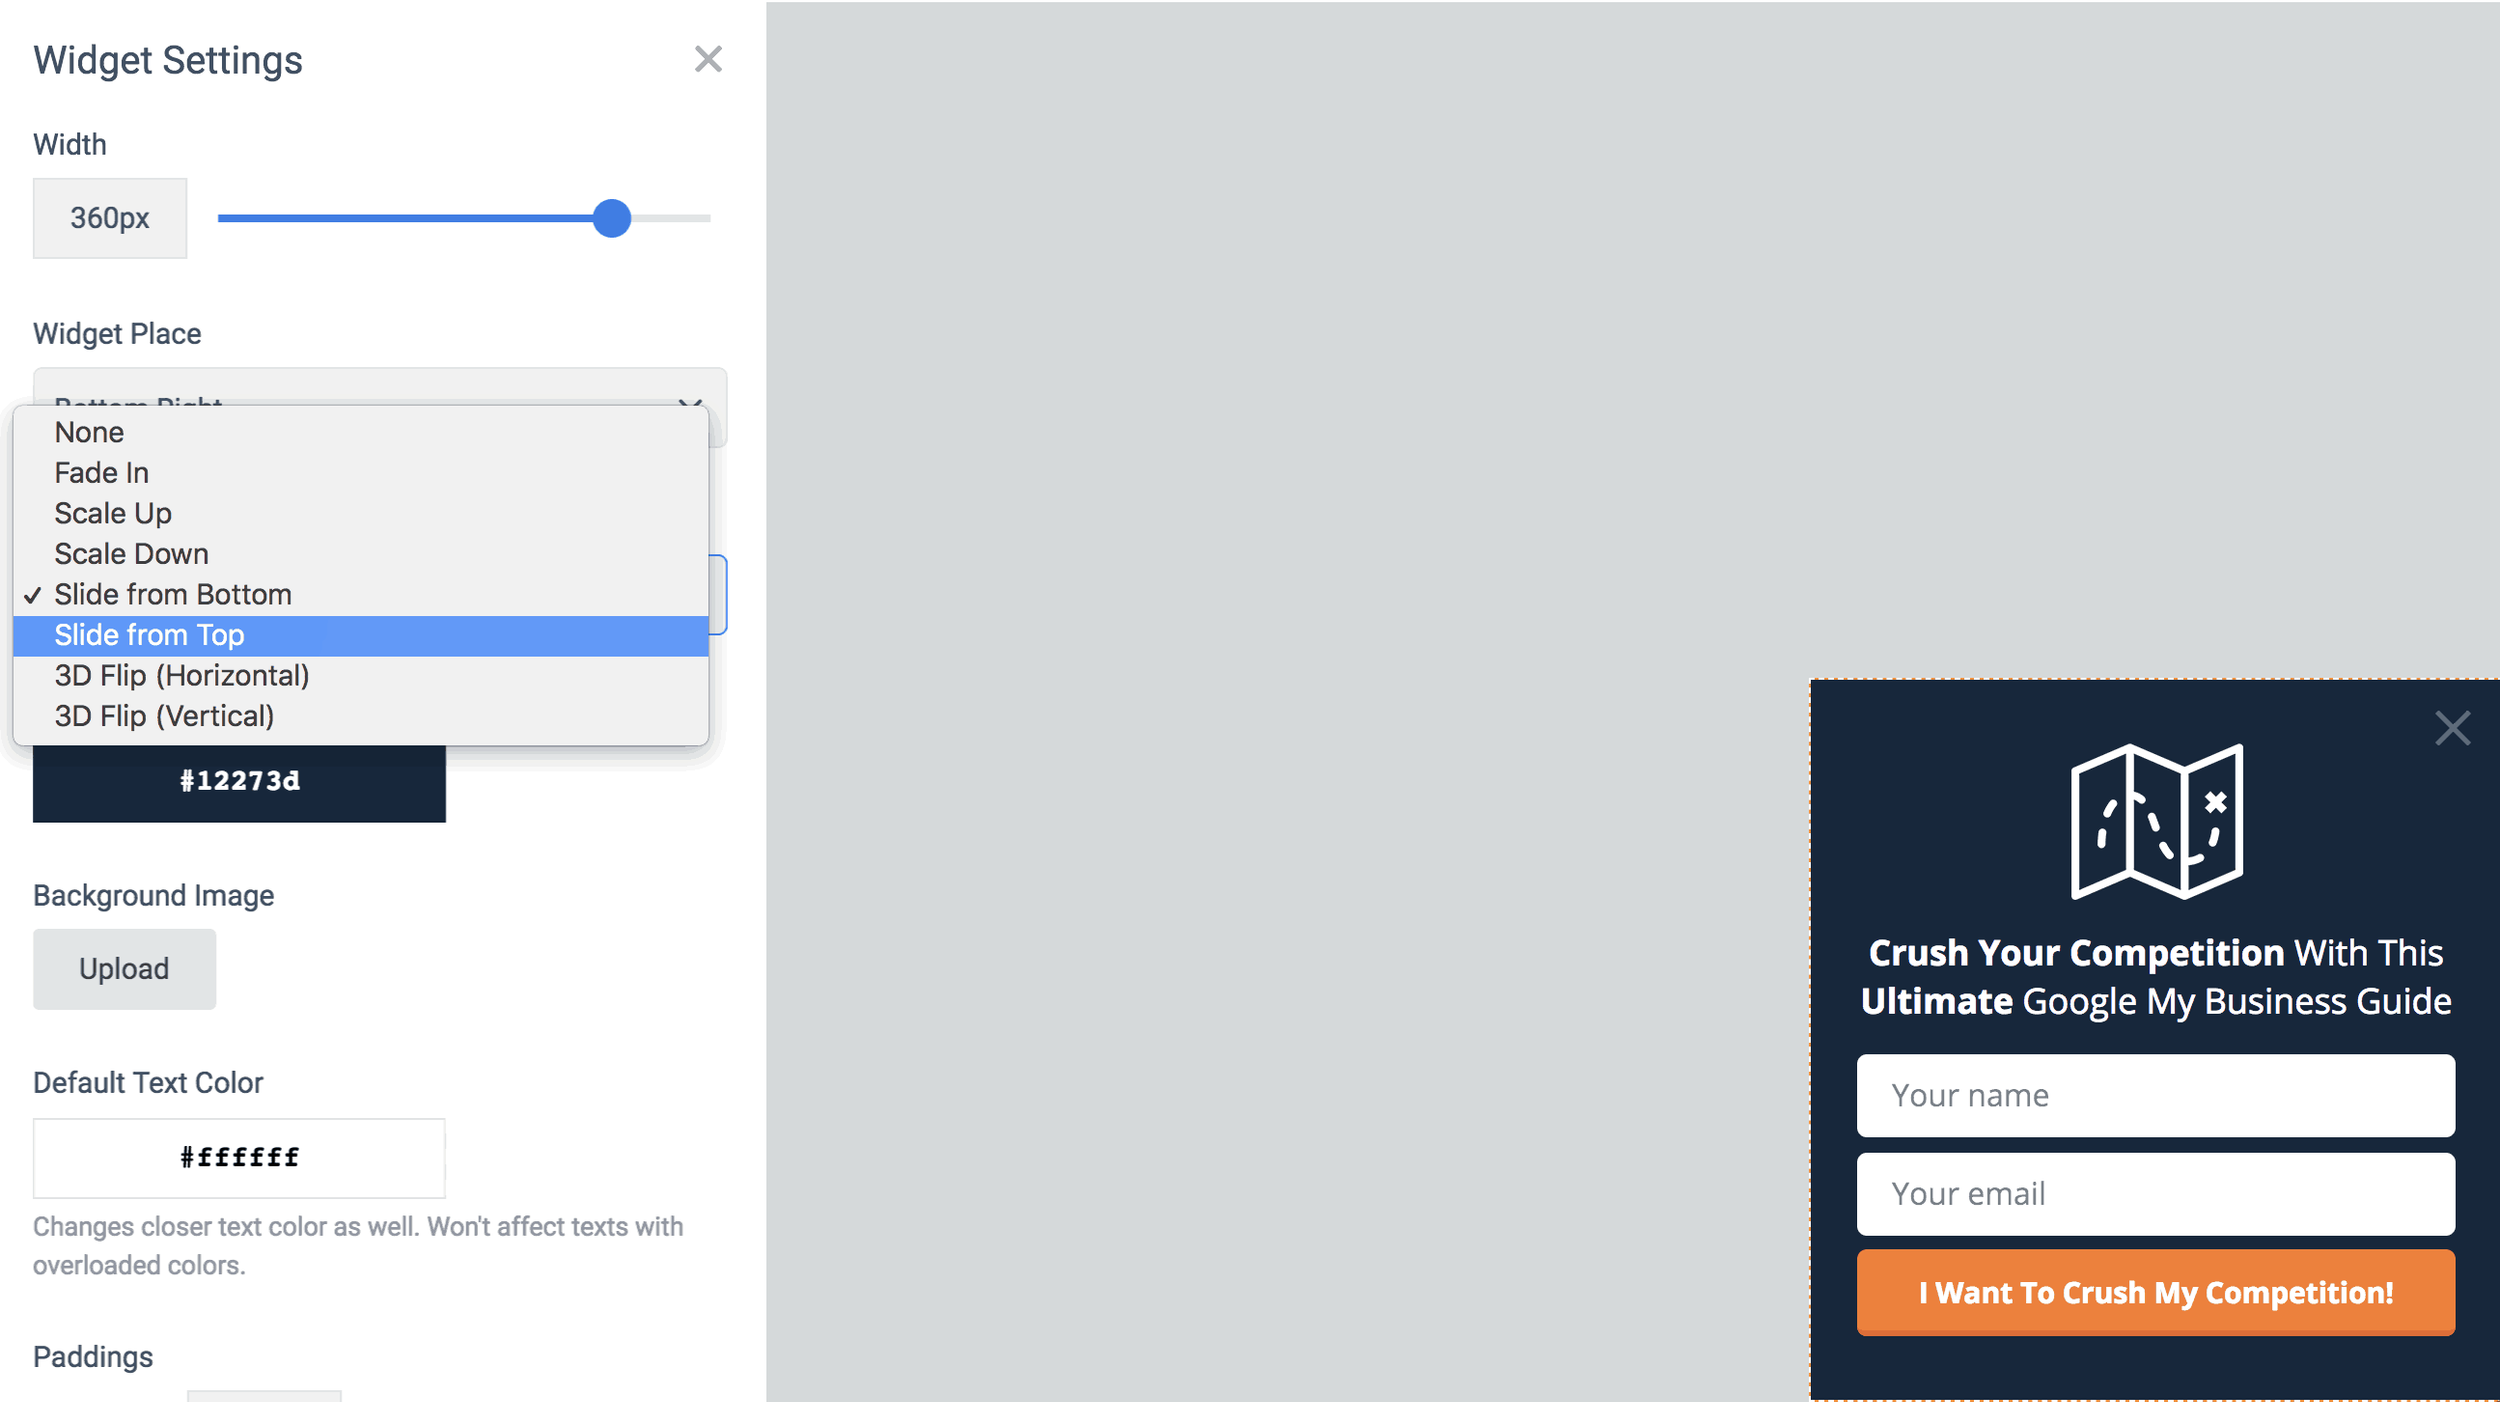
2. Scroll Box
When using the scroll box, you’ll be able to control to whom and how this appears. Slide in from the bottom right is the default, but you can choose the position and the type of animation. Use this for any type of subscriber opt-in, from content upgrades, to growing your social audience, to offering discounts to first time visitors.

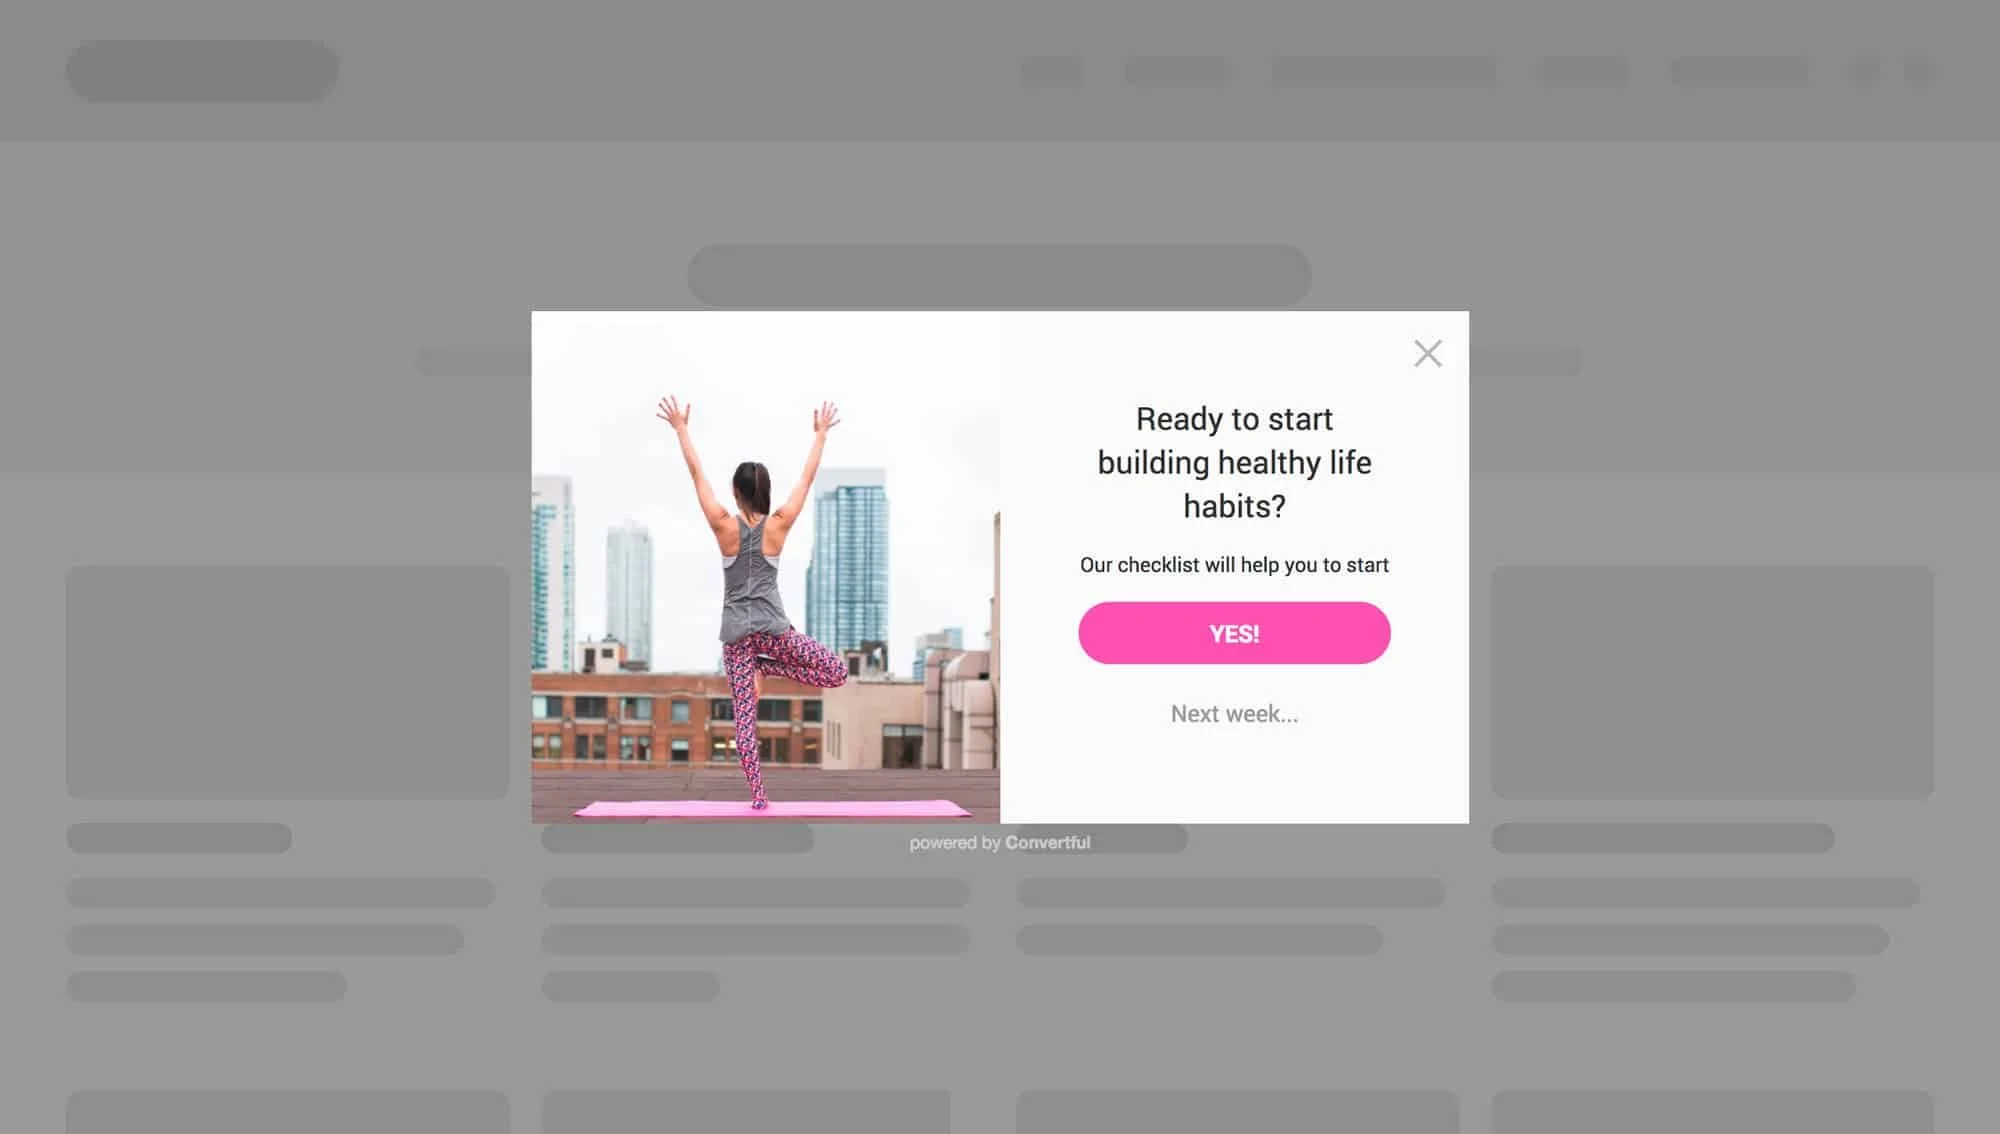
3. Popup
In general, this is the one that is most abused on websites. This is the one that immediately pops up in your face when you enter a website. (Keep reading the article for a MUCH better use of this and a MUCH more effective use) In either case how you use this, it will create a pop-up box. Use this type when you have a high impact offer that you’ll make irresistible to refuse.

4. Welcome Screen
Many have argued that the Welcome Screen is the most effective for capturing email addresses. The welcome screen has all of the same targeting and display options as the other opt-in widgets. The benefit is that it’s a full screen take-over. So, with the right messaging and call to action, it’s both impossible to miss and and to not opt-in.

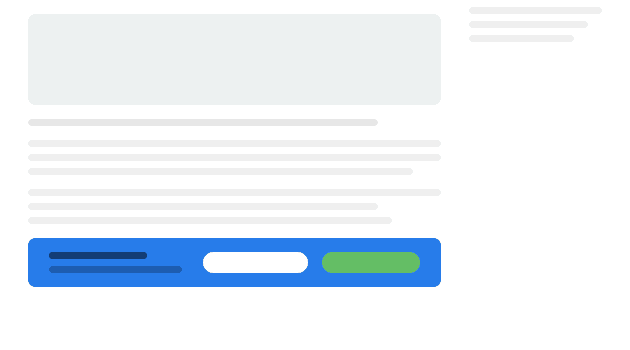
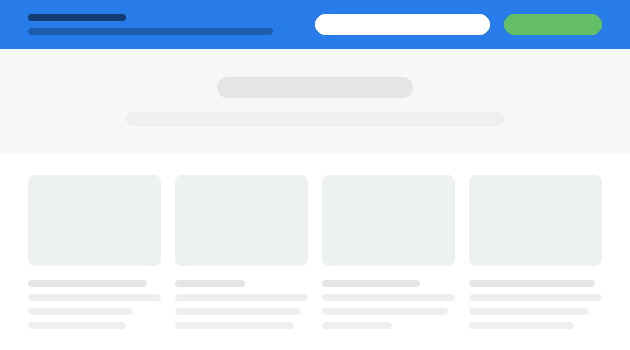
5. Floating Bar
The floating bar is a strip that goes from edge to edge and can be positioned either at the top of the page or the bottom. Your choice. This is useful when used with short, persuasive copy, one single field of information and a submit button. This isn’t the place to ask for all sorts of information - we only want their email essentially.
The Floating Bar is also useful to use as a social media tool to increase your followers.
All of the widget types with the exception of the inline widget, can have display rules attached to them. So that means, the scroll box, pop-up, welcome screen, and floating bar can all be targeted by several different user behaviors.
3. Show your opt-in widget to targeted visitors
The power behind an app like Convertful is that you have very advanced targeting methods that are super simple to implement.
For instance, on the pop-up widget, stop showing that to people soon as they enter the website. It’s annoying. Google hates it by the way, especially on mobile. Your site is penalized if you show pop-ups to users if it’s within seconds of entering the page. Read it straight from the Google Webmaster Blog.
Here’s 3 better ways to use the pop-up widget.
Show it to people:
When they are about to leave
If they have scrolled a certain percentage down the page
If they click a specific button or link that you specify
Let’s break that down
1. When They Are About To Leave
This is what we call the “last chance offer”. The app is so smart, it knows when a user is about to exit the website based on mouse movement and position. Soooooooo you’re about to hit that x-button to close the tab and then suddenly you are presented with an offer you cannot refuse. Well you can, but the copy is so good that you just have to say “Yes!”
You have to think about a few things here when using the “last chance offer”. Think of the exit intent. Were they just reading a blog article? Were they on your homepage and about to bounce? Were they viewing a service page and went to your contact page but then chickened out?
2. If they have scrolled a certain percentage down the page
This is highly effective for article pages, like this one! If someone is reading an article and they are presented with an offer while they are reading the opening paragraphs - That’s gonna be a no for me. If the reader is let’s say, 50% through the current article and they are presented with an offer that is relevant to the article they are reading, you have a much higher chance of converting that reader into a subscriber.
Now, you can take some guestimates as to how far into the article to place your widget, or you can scientifically know when to place it. We use HotJar to track article depth via their Heatmap tool. In short, HotJar records mouse clicks along your page but also will tell you the average read depth for a page. Take your most viewed articles and run them through a heatmap. If you see your top performing article people are exiting by the time they hit the 65% mark, then show them your opt-in widget at 60%, right before the average person leaves.
3. If they click a certain button or link on your page
This is another powerful targeting as the user is in 100% control of viewing the opt-in box.
It doesn’t matter if you are using a pop-up box, slide in, welcome screen or floating bar. In this scenario you are telling Convertful to only show the opt-in box IF the user clicks a certain link or button on your website.
For instance, on our blog article 9 Tips To Rank #1 On Google Maps, we have a content upgrade to download a complete guide on using Google My Business. In order for this opt-in to be shown, you must click on the link: “Bonus: Download The Ultimate Guide To Google My Business And Crush Your Competition”.
Or, if you want to try it out right now, click this link and you'll see a pop-up appear.
4. Send your opt-in subscribers to your email service
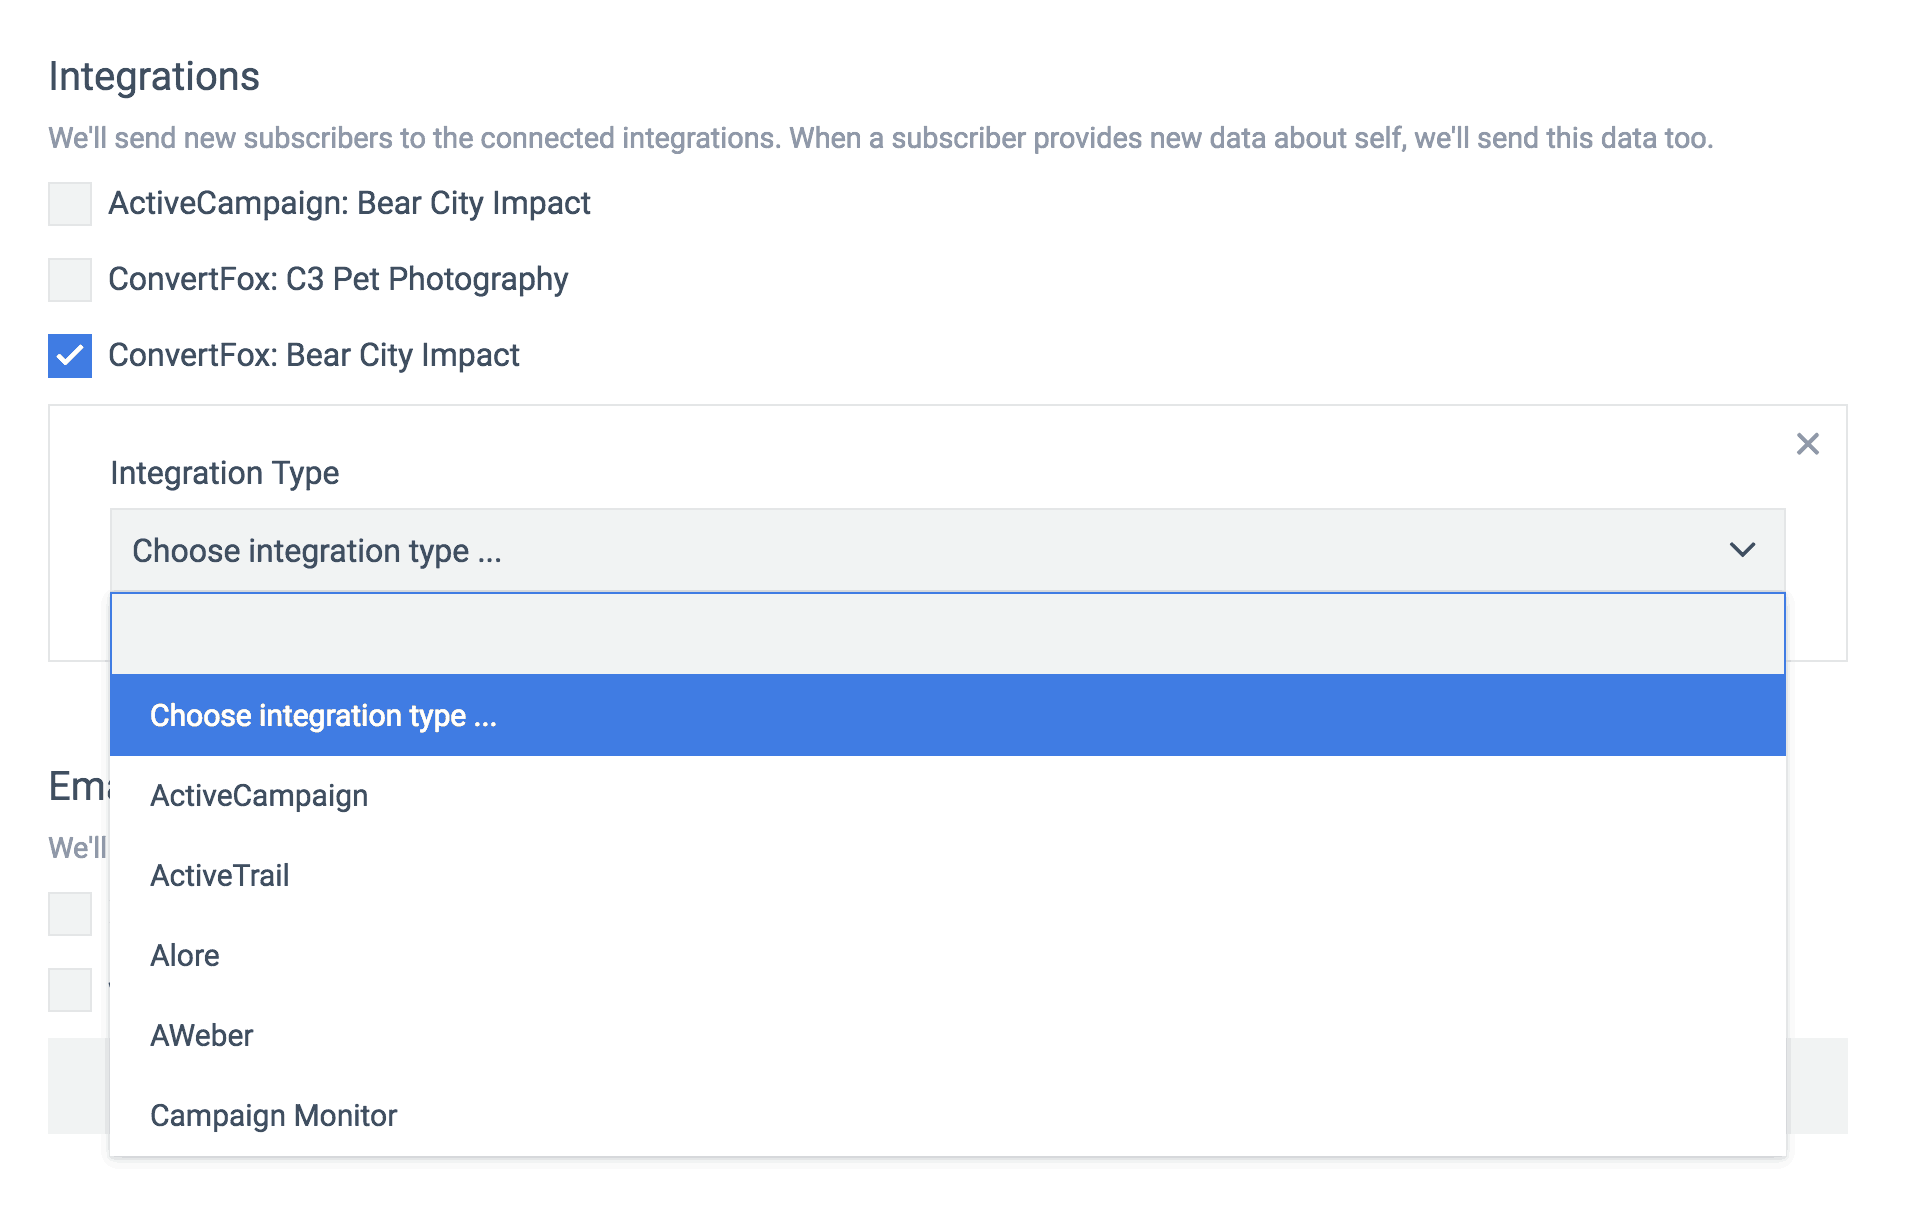
Now that you have people opting into your email list, you’ll want to actually email them! Convertful makes it easy to send your subscribers to your email service provider of choice. They work with all of the major marketing providers such as Mailchimp, ActiveCampaign, HubSpot, and my new favorite, ConvertFox.
You’ll specify where to send the email data while you’re creating the widget. Just tab over to the “Success Actions” area, and choose your integration. Since this will likely be your first integration here, you’ll want to click on the “Add Integration” button, which will then pull up a list of supported 3rd party tools.
From this tab you can also set up notifications to your email, if you want to be notified everytime there is a new subscriber. Lastly, you have the option to redirect them to another URL or simply display the success message you might have created.
The option to redirect to another URL is useful for a couple of reasons.
The offer might have been to download a content upgrade, in which case you are placing the upgrade on a new webpage and also emailing it to them
You want to send them to a thank you page, for more information and/or tracking
Or, you want to send them to a tripwire page as part of your 5-step funnel system.
Combine Matching Conditions To Your Targeting
Since you are able to specify which pages you want the widget to appear on, you can choose advanced targeting methods to only show it if certain conditions are met.
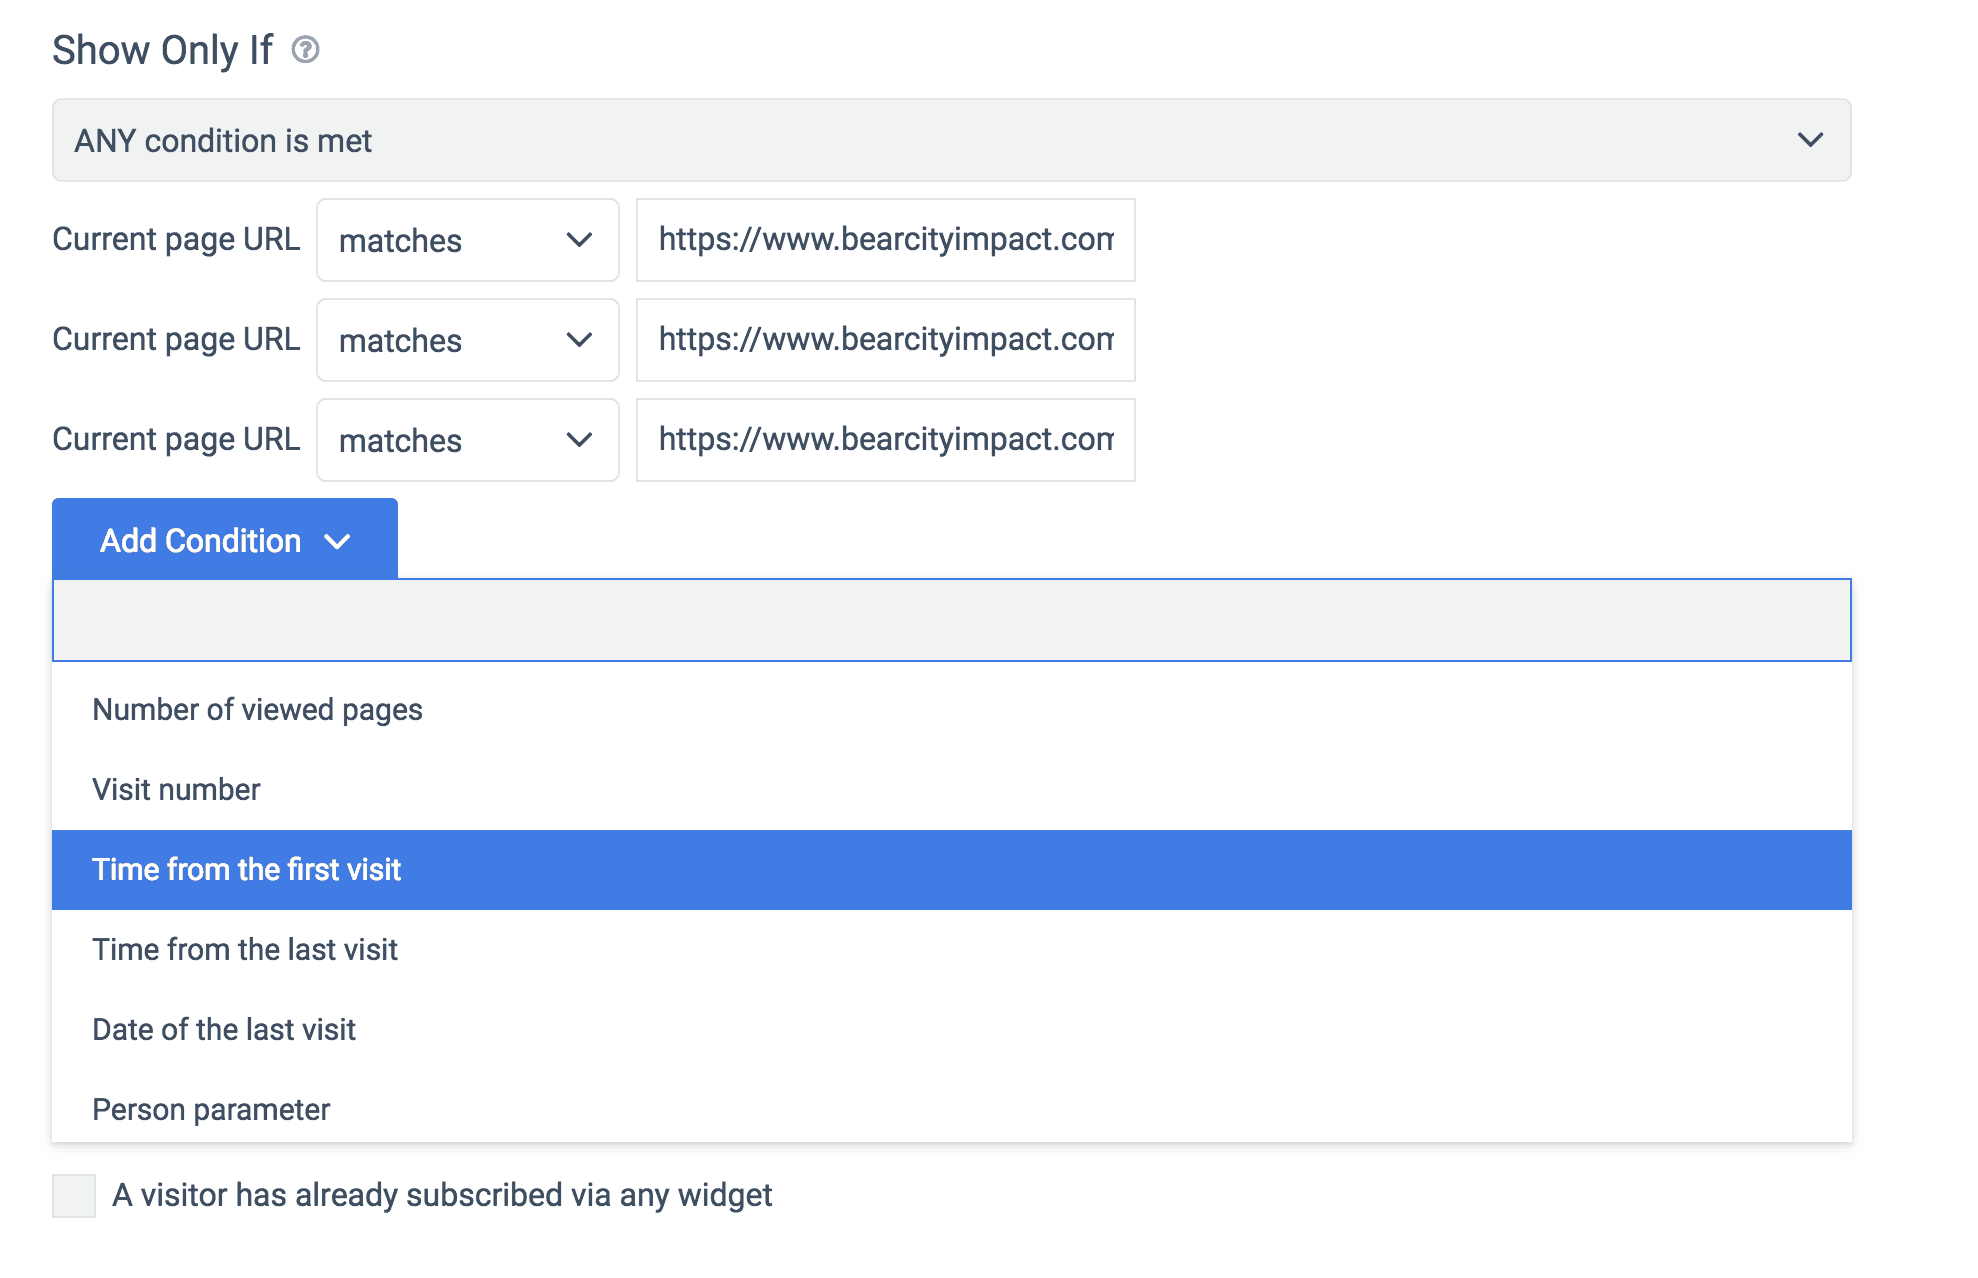
Here you can see we are telling Convertful to show this opt-in when a visitor intends to leave.
But we are adding the condition of time from the first visit. So here we would specify the amount of time we want the visitor to be on page to then trigger the intent to leave opt-in.
For example, if we set the time from first visit at 3 minutes, 30 seconds, and the visitor goes to that page and has only been on your site for 1:30, then it will not show the opt-in box, even when they are about to leave.

Lastly, you are able to exclude the opt-in box from showing based on several conditions as well.
For instance, the most important in my humble opinion, if any other floating widget it currently shown. This prevents having two different opt-in boxes from showing at the same time. I.e. a slide-in box and a pop-up box showing at once. Hello! Annoying!
Convertful has a good memory also, so if the person has already submitted their info within the past X-number of days, it won’t show it to them again until a time you specify, or if the person closed the offer box recently.
Get More Leads & Customers With Convertful
When you spend so much time getting traffic to your website, be it from social, paid ads, etc, you want to make those visits count. Using a powerful tool like Convertful will give your website it’s silent marketing partner. Combined with an irresistible offer, you can easily double or even triple the email signups you might be getting now.
Try out Convertful for free today.
Disclosure: Some of the links on this page are affiliate links. Meaning, at no additional cost to you, I will earn a commission if you click through and make a purchase.